For avid gamers using Steam, the world’s leading digital distribution platform for PC gaming, capturing in-game moments is a common practice. Steam provides an integrated feature to take and store screenshots, but understanding and locating the Steam Screenshot Folder can sometimes be confusing.
This comprehensive, SEO-optimized article aims to explain the meaning of the Steam Screenshot Folder and provide a detailed guide on how to find it on your PC.
What is the Steam Screenshot Folder?
The Steam Screenshot Folder is a specific directory on your computer where Steam saves screenshots taken during gameplay. When you capture a screenshot in a game using Steam’s overlay feature (typically accessed with the F12 key), the screenshot is saved in this folder.
This feature allows gamers to easily capture, organize, and share their gaming experiences.
Read Also:
Purpose of the Steam Screenshot Folder
- Saving Memories: Capture memorable or significant moments in games.
- Sharing Experiences: Share screenshots with friends or the Steam Community.
- Creating Content: Use screenshots for content creation like gaming blogs, tutorials, or social media posts.
How to Access Steam Screenshot Folder
We will be discussing the two ways you can obtain these pictures and access through them:
- One is to access your pictures by the screenshot manager in steam.
- And the other is to access them by the hard drive storage.
Method 1: Using the Screenshot Manager
You can view all your screenshots taken in-game, using the screenshot manager by your stream client. Follow the steps below:
Step One: Firstly, open your stream window.
Step Two: Secondly, click on view > screenshots (you will find this on the upper left corner where all the dropdowns are placed)
Step Three: The Screenshot manager allows you to upload your desired pictures; hence, you can delete them if you wish to.
Step Four: You can even access your screenshots directly through your hard drive, for that you need to click on the “show on disc” button.
Step Five: You will also come across the option to delete your desired screenshots from your hard drive permanently.
Method 2: Access Your Screenshot Folder by Yourself
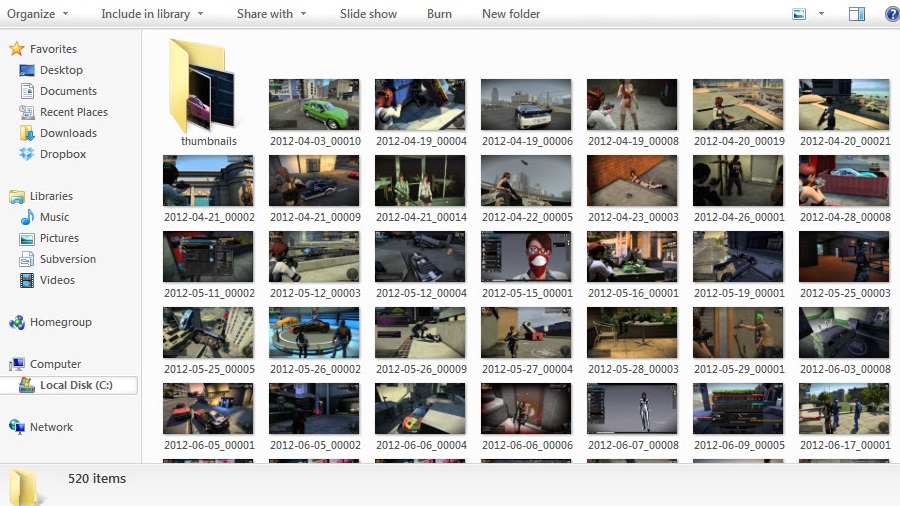
All the screenshots taken in-game are saved physically, of each user’s screenshots folder. You will find this folder, where your stream is currently install (by default it is located in the Local Disk C)
You need to open your C drive: Program Files (x86) \ Steam \ userdata\ <yourSteamID> \ 760 \ remote\ <app – ID> \ screenshots.
TIP: If you’re facing this issue with your desktop or a laptop/notebook you should try using Reimage Plus. It scans the repositories and reinstates corrupt and missing files. When the issue is create due to the system corruption, this works in almost all such cases.
How to Search for Your StreamID?
Using your stream client, you can access your StreamID if you don’t know it.
Step One: On opening your stream client, you will have to click on the view (you will find this on the upper left corner where all the dropdowns are place) and then choose settings.
Step Two: Next, by clicking on the interface, you will see a box that reads” Display Steam URL address when available.” Check it and then, save it.
Step Three: Now go back to your Stream profile and then click on View profile.
Step Four: In the URL, you will find a number at the end of it, which is your StreamID. Use it to locate your saved pictures.
How Steam Manages Screenshots
When you take a screenshot in-game, Steam not only saves it to the screenshot folder but also displays it in the Steam overlay. Here, you can view, delete, or choose to share the screenshots on your Steam profile or social media.
Finding the Steam Screenshot Folder on Your PC
Locating your Steam Screenshot Folder can be done in several ways:
- Through Steam’s Interface:
- Open Steam and go to the upper left corner to click on ‘View’.
- Select ‘Screenshots’ from the dropdown menu. This opens the Screenshot Manager.
- In the Screenshot Manager, you can see all the screenshots you’ve taken. Select a game to see its screenshots.
- Click on ‘Show on Disk’ to open the folder where the screenshots are stored.
- Manual Navigation:
- If you know the installation path for Steam, you can navigate to the screenshot folder manually.
- By default, the path is usually
C:\Program Files (x86)\Steam. - Navigate to
userdata\<YourSteamID>\760\remote\<GameID>\screenshots, where<YourSteamID>is your unique Steam ID and<GameID>is the ID of the game whose screenshots you want to access.
- Using Windows Search:
- If you’re unsure of the installation path, use the Windows search feature.
- Type ‘screenshots’ and look for a folder that matches the Steam directory structure.
Organizing and Sharing Steam Screenshots
Once you locate the Steam Screenshot Folder, you can organize your screenshots as desired. Steam also offers options to share these screenshots directly to your Steam profile, community, or link them to other social media platforms.
Best Practices for Managing Steam Screenshots
- Regular Backups: Regularly back up your screenshots to prevent loss due to system failures.
- Organize by Game: Create subfolders by game names if you manually manage screenshots.
- Edit for Quality: Use image editing software to enhance screenshots for content creation.
Read More:
Conclusion
If none of the above methods helped you to solve your issue, it is recommended to use Re-image Repair Tool, which scans the repositories and reinstates corrupt and missing files. When the issue is created due to the system corruption, this works in almost all such cases.